Prep time: 15 minutes
Cook time: 20 minutes
Total time: 35 minutes
Servings: 4
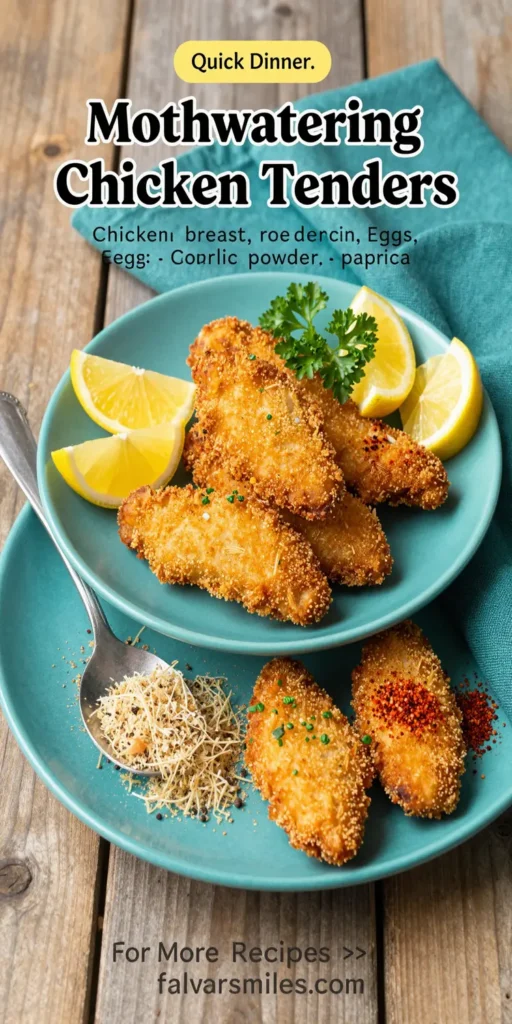
Mouthwatering Chicken Tenders are a delightful dish that everyone in the family will love. They are crispy on the outside, tender on the inside, and bursting with flavor. Perfect for busy weeknights or a crowd-pleasing party snack, these chicken tenders can be made quickly and easily, with a few basic ingredients that you probably already have on hand. Once you sink your teeth into that crispy coating and juicy chicken, you will wonder how you ever lived without this recipe.
What Is Mouthwatering Chicken Tenders?
Mouthwatering Chicken Tenders are essentially strips of chicken breast that have been breaded and fried (or baked) to a golden-brown perfection. This dish epitomizes comfort food, making it a favorite among kids and adults alike. The magic lies in the combination of seasoning and cooking technique. The breading locks in moisture, ensuring each bite is juicy, while the outer layer is seasoned with spices that can vary from classic to adventurous.
Why You’ll Love This
There are countless reasons to love Mouthwatering Chicken Tenders. First, they are incredibly versatile. Serve them with a variety of dipping sauces like honey mustard, ranch, or BBQ for an even more delightful experience. Second, they use simple ingredients that you can easily adjust according to your taste preferences. Third, they appeal to various dietary needs—whether you’re looking for something kid-friendly, budget-conscious, or even a healthier alternative by baking rather than frying.
Ingredients You’ll Need
- 1 pound chicken breasts: Choose fresh chicken breasts for optimal flavor and juiciness. Cut them into strips for easy cooking and portion control.
- 1 cup all-purpose flour: This is used for dredging the chicken, providing a crisp outer coating when cooked.
- 1 cup breadcrumbs: Panko or traditional breadcrumbs work well, adding the necessary crunch to the tenders.
- 2 large eggs: Beaten eggs help the breading stick to the chicken, ensuring a delightful crust.
- 1 teaspoon garlic powder: This adds a rich layer of flavor, elevating the taste of the tenders significantly.
- 1 teaspoon paprika: Paprika adds a hint of smokiness and color, making the tenders visually appealing.
- Salt and pepper to taste: Basic seasonings are essential for enhancing the overall flavor of the dish.
- Oil for frying (if frying): Choose a high-smoke point oil like vegetable or canola oil for frying to ensure the tenders cook evenly.
How to Make
- Start by preparing your workspace. Set up a dredging station with three shallow bowls: one for flour, another for beaten eggs, and the last for breadcrumbs mixed with garlic powder, paprika, salt, and pepper. This systematic approach will streamline the breading process.
- Next, take your chicken breast strips and coat them in flour first. Ensure that each piece is evenly coated, shaking off any excess flour to prevent clumping.
- Then, dip the flour-coated chicken into the beaten eggs. Make sure each tender is well-coated, allowing the egg to adhere to the flour layer, which will help the breadcrumbs stick.
- Now it’s time to roll the chicken in the breadcrumb mixture. Press gently to ensure the breadcrumbs adhere well, resulting in a crispy outer layer during cooking.
- Heat oil in a deep skillet over medium heat. To check if the oil is hot enough, drop a small breadcrumb into the oil; if it sizzles, it’s ready. Carefully place the chicken tenders into the hot oil, making sure not to overcrowd the pan for even cooking.
- Fry the chicken tenders for about 4-5 minutes on each side or until they reach a golden-brown color and are cooked through. Use a meat thermometer to check that the internal temperature reaches 165°F.
Variations & Substitutions
Baked Chicken Tenders: For a healthier option, consider baking these chicken tenders instead of frying. Preheat your oven to 400°F. Line a baking sheet with parchment paper, then place the breaded chicken tenders on it. For extra crispiness, lightly spray the tops with cooking oil. Bake for 15-20 minutes, turning halfway through, until golden and cooked through.
Spicy Chicken Tenders: If you love heat, crank up the flavor with cayenne pepper or hot sauce in the egg mixture. You could also use spicy breadcrumbs for an extra kick. Serve these tenders with a cooling ranch sauce to balance the heat.
Herbed Chicken Tenders: Adding dried herbs such as oregano, thyme, or Italian seasoning to the breadcrumb mixture can take these tenders to new heights of flavor. Fresh herbs can also add a delightful scent and fresh taste, making them a fantastic addition to this dish.
Common Mistakes to Avoid
One common mistake is overcrowding the pan while frying the chicken tenders. This can lower the oil temperature, leading to greasy or unevenly cooked chicken. Ensure you cook in batches if necessary to maintain optimal frying conditions.
Another pitfall is not seasoning the flour or breadcrumbs adequately. Without proper seasoning, your chicken tenders might taste bland. Always be generous with your flavorings.
Finally, avoid cooking the chicken at too high of a temperature. This can result in burnt outsides and undercooked insides. Keep a steady medium heat to ensure a perfect cook.
Storage, Freezing & Reheating Tips
After enjoying your chicken tenders, it’s essential to know how to store them properly. Leftover chicken tenders should be cooled to room temperature before transferring them to an airtight container. You can keep them in the fridge for up to 3-4 days.
If you want to extend their lifespan, consider freezing them. Place the cooked tenders in a single layer on a baking sheet to freeze, then transfer them to a freezer-safe bag once solid. They can be frozen for up to 3 months.
When you’re ready to enjoy your frozen tenders, you can reheat them in the oven at 375°F for about 15-20 minutes or until they’ve heated through and regained their crispy texture. Alternatively, you can warm them gently in the microwave, but this may result in a less crispy texture.
Frequently Asked Questions
Can I use chicken thighs instead of breasts? Yes, you can definitely use chicken thighs for a juicier end product. Just keep in mind that cooking times may vary slightly since thighs tend to be thicker. Ensure the internal temperature still reaches 165°F.
What dipping sauces pair well with these chicken tenders? There are many delicious dipping sauces that pair well, including honey mustard, BBQ sauce, ranch dressing, and sweet and sour sauce. Feel free to get creative!
Can I make these chicken tenders gluten-free? Absolutely! Simply substitute the all-purpose flour with a gluten-free flour blend and use gluten-free breadcrumbs. This way, you can still enjoy the crispy joy of chicken tenders without gluten.
How can I make these tenders healthier? For a healthier version, try baking instead of frying, use whole grain breadcrumbs, or bake them with a touch of olive oil instead of deep-frying. You can also serve them with a side of fresh vegetables or a green salad.
How do I keep chicken tenders crispy after cooking? To maintain their crispiness, it’s best to serve them immediately after cooking. If you need to keep them warm, place them in a single layer on a cooling rack in a warm oven. This prevents them from steaming and getting soggy.
Conclusion: You are now equipped with the knowledge and skills to create Mouthwatering Chicken Tenders that are sure to please any crowd. With their crispy exterior and juicy interior, they are sure to become a staple in your cooking repertoire. Whether you choose to bake them for a healthier option or fry them for that classic crunch, these tenders are versatile enough to match any occasion. Don’t forget to experiment with different dipping sauces and presentation styles. Happy cooking!