Prep time: 15 minutes
Cook time: 25 minutes
Total time: 40 minutes
Servings: 12 scones
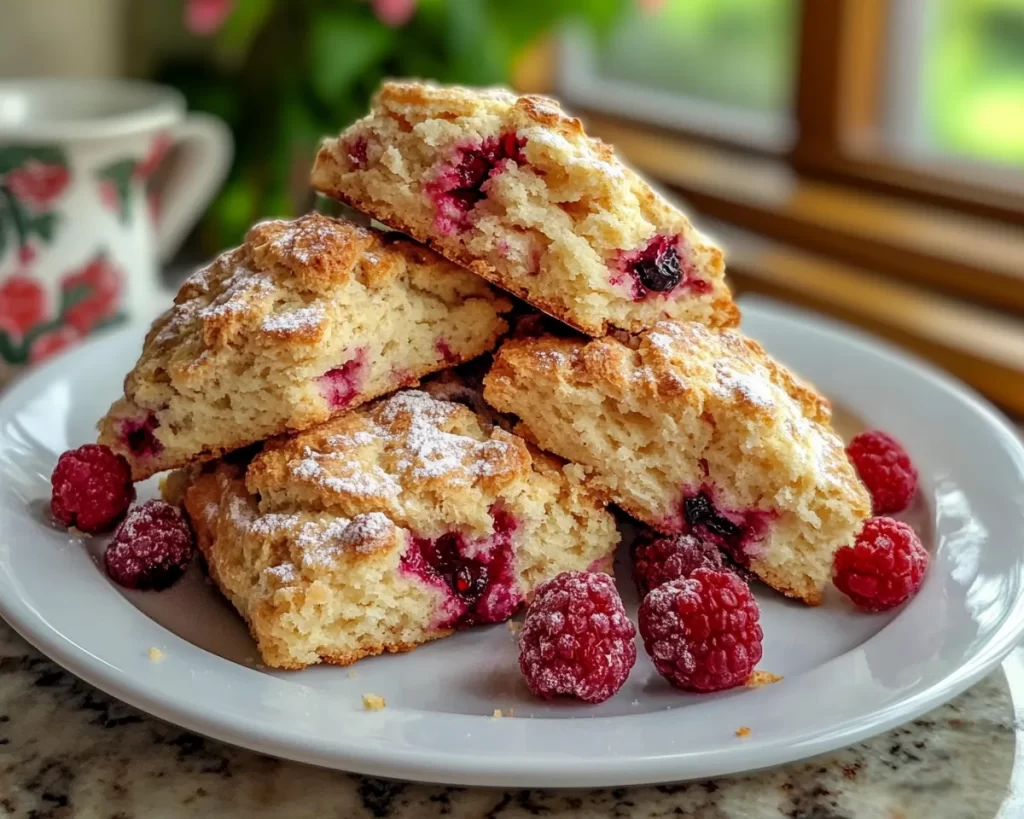
Spring Baking: Almond Berry Scones in 5 Steps is the perfect way to celebrate the arrival of warmer weather. These scones are light, flaky, and bursting with flavor, making them an ideal addition to your brunch table or afternoon tea. Whether you’re treating yourself or impressing guests, these delicious scones are sure to bring smiles all around.
What Is Spring Baking: Almond Berry Scones in 5 Steps?
Spring Baking: Almond Berry Scones are delightful pastries that combine the nuttiness of almonds with the tartness of fresh berries. This recipe simplifies the process into five easy steps, allowing even novice bakers to create a show-stopping treat. With crispy edges and a tender center, each bite offers a burst of berry flavor complemented by the subtle crunch of almonds.
Why You’ll Love This
You’ll appreciate these scones not just for their flavor but also for their versatility. They can easily be adapted to fit various dietary needs and can incorporate whatever berries are in season. Additionally, they are perfect for busy parents looking to prepare a quick snack or treat that the whole family will love. Imagine the smiles as your children sink their teeth into a warm, fresh scone right out of the oven. Plus, they freeze beautifully, making them a convenient option for meal prepping.
Ingredients You’ll Need
- 2 cups all-purpose flour: This ingredient forms the base of your scones, providing structure and texture.
- 1/3 cup granulated sugar: Adds sweetness to balance the tartness of the berries.
- 1 tablespoon baking powder: A crucial leavening agent to ensure your scones rise well.
- 1/2 teaspoon salt: Enhances all the flavors in the scone.
- 1/2 cup unsalted butter: Cold and cubed, it creates that flaky, tender texture you desire.
- 1 cup mixed berries: Fresh or frozen; they add natural sweetness and flavor to your scones.
- 1/2 cup heavy cream: This provides moisture and richness, ensuring your scones are not dry.
- 1 teaspoon vanilla extract: Adds depth and a lovely aroma to the scones.
How to Make
- Preheat your oven to 400°F (200°C). Prepare a baking sheet by lining it with parchment paper to ensure easy removal of the baked scones.
- In a large mixing bowl, whisk together the flour, sugar, baking powder, and salt. This ensures that all your dry ingredients are well combined, which is key for proper leavening.
- Cut in the cold butter. Using a pastry cutter or your fingertips, mix until the mixture resembles coarse crumbs. The small butter pieces are essential for creating that sought-after flaky texture.
- Gently fold in the mixed berries. Be careful not to crush them to avoid staining the dough too much, which could result in a less visually appealing scone.
- Add the heavy cream and vanilla extract. Stir until just combined to avoid overmixing, which can lead to tough scones. The dough should be slightly sticky.
- Turn the dough out onto a floured surface. Gently knead it a couple of times and then pat it into a circle about 1-inch thick. Cut into wedges or use a round cutter for uniform shapes.
- Transfer to the prepared baking sheet. Brush the tops with an extra splash of heavy cream for a golden finish.
- Bake for 20-25 minutes, until golden brown and cooked through. Allow to cool slightly before enjoying.
Variations & Substitutions
Dairy-Free Variation: To make these scones dairy-free, substitute the butter with a plant-based alternative such as coconut oil or vegan butter. Use almond milk or any nut milk in place of the heavy cream. This will keep the scones moist without any dairy products.
Gluten-Free Variation: If you’re following a gluten-free diet, use a 1:1 gluten-free baking blend. These blends often contain xanthan gum, which helps mimic the texture of traditional flour. The flavor will still shine through with your choice of fillings.
Different Berries: Instead of a mix of berries, feel free to use just one type, such as blueberries or raspberries. You can also incorporate dried fruits like cranberries for a unique twist. Each combination offers new flavors and textures.
Sweet Spice Variation: Add a teaspoon of cinnamon or nutmeg to the dry ingredients for a warm spice flavor. Pair this with apple chunks or pear slices instead of berries for a delicious fall-inspired scone.
Common Mistakes to Avoid
Overmixing the dough: One of the most common pitfalls when making scones is overmixing the dough, which can lead to dense, tough results. Remember, the key to fluffy scones is to mix just until the ingredients are combined.
Using warm butter: If the butter melts into the mixture rather than remaining in small chunks, you will lose that desired flakiness. Always ensure your butter is cold when cutting it into the flour.
Not measuring accurately: Baking is a science, and even slight variations in ingredient measurements can change the final product. Use the spoon and level method for flour or other dry ingredients for best results.
Storage, Freezing & Reheating Tips
Store leftover scones in an airtight container at room temperature for up to 3 days. If you wish to keep them longer, freeze them once they have completely cooled. Place them in a single layer in a freezer-safe bag or container, separating layers with parchment paper to prevent sticking. For reheating, simply place them in a preheated oven at 350°F (175°C) for about 10-15 minutes, allowing them to regain their fresh-baked texture and warmth.
Frequently Asked Questions
Can I use frozen berries? Yes! Frozen berries work wonderfully in this recipe. Just be sure to fold them in gently to avoid crushing them, and note that they may cause the dough to become a little more moist.
How do I know when the scones are done baking? Look for a golden-brown color on top and a slight firmness when you gently press the center. A toothpick inserted in the middle should come out clean, indicating that they are fully baked.
Can I make these scones ahead of time? Yes! You can prepare the dough and form the scones, then cover and refrigerate them for up to 24 hours before baking. Alternatively, you can bake them and freeze, reheating them later as needed.
What can I serve with these scones? These scones pair beautifully with clotted cream, fresh berries, or a drizzle of honey. For a more indulgent treat, try adding a dusting of powdered sugar on top or a glaze made from icing sugar and milk.
How can I modify this recipe for different dietary restrictions? This recipe is easily adaptable, as mentioned in the variations section. You can find gluten-free flour blends, nut milks, and dairy substitutes that will not compromise flavor while accommodating various dietary needs.
Conclusion: Spring Baking: Almond Berry Scones in 5 Steps is not just a recipe; it’s an experience. Bring joy to your kitchen and delight your loved ones with these simple yet exquisite pastries. Enjoy baking, and savor each delicious bite!