Prep time: 15 minutes
Cook time: 45 minutes
Total time: 1 hour
Servings: 8 slices
Imagine walking into your kitchen on a cool evening, the aroma of freshly baked bread mingling with a hint of cocoa filling the air. You can’t resist the temptation to slice into a loaf of warm, moist chocolate bread. This Quick Homemade Chocolate Bread recipe is not just a treat for your taste buds; it’s a delightful way to indulge during those busy days when you are looking for something quick but comforting. Whether it’s a special breakfast, a cozy afternoon snack, or dessert with a cup of coffee, this chocolate loaf is bound to amaze. You will learn everything, from the essential ingredients to creative variations and handy tips for making it perfect every time.
What Is Quick Homemade Chocolate Bread | Easy Chocolate Loaf Recipe?
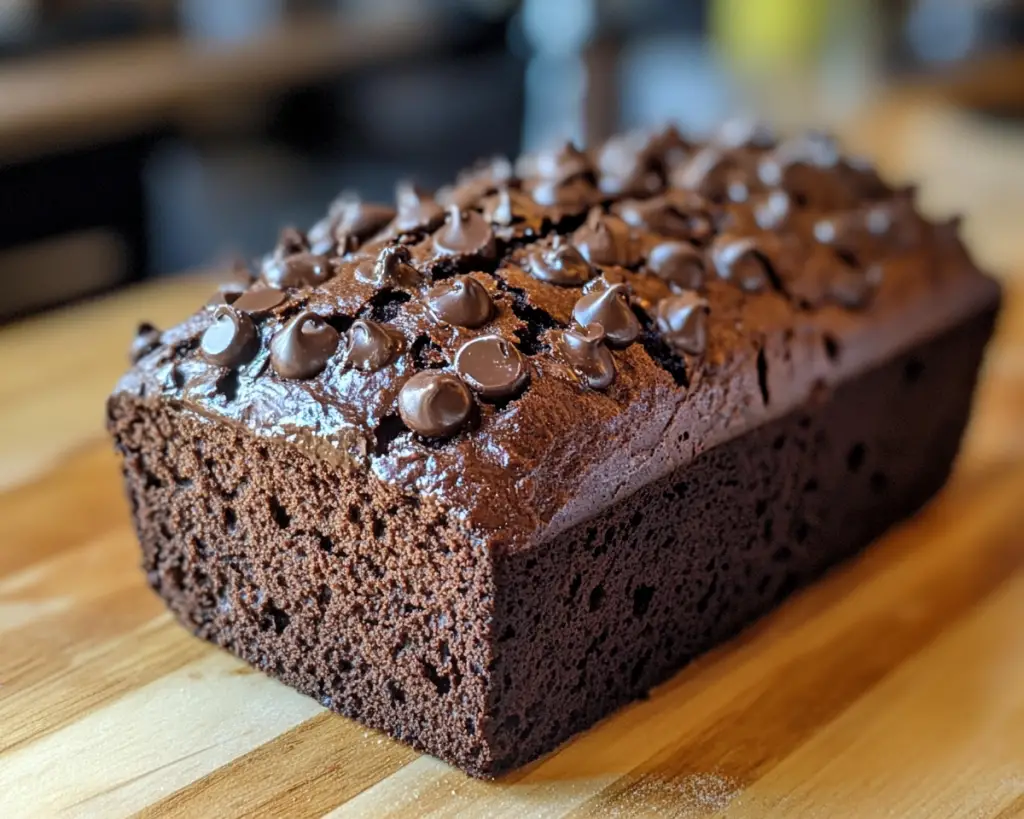
Quick Homemade Chocolate Bread, often referred to as chocolate loaf cake, has origins that can be traced back to the rich culinary traditions of various cultures that incorporate chocolate into their baked goods. This recipe has garnered favor for its straightforward preparation, allowing even novice bakers to create a delightful treat. The texture of this loaf is incredibly moist, thanks to the addition of wet ingredients that meld beautifully with the rich cocoa powder. Each slice offers a burst of chocolate flavor that tantalizes your taste buds, making it hard to resist returning for seconds.
The flavors of this bread are rich and robust, with a tender crumb that melts in your mouth. The chocolate notes are deep but balanced, ensuring that while it satisfies your chocolate cravings, it’s not overwhelmingly sweet. The subtle hints of vanilla and a sprinkle of salt enhance the chocolate without overshadowing it, making every bite a harmonious experience. Perfect for breakfast or as an after-dinner dessert, this loaf can also be dressed up with various toppings or served plain for an easy treat.
Why You’ll Love This
This Quick Homemade Chocolate Bread is a staple in many households for a multitude of reasons. Firstly, its taste is simply irresistible; it strikes a perfect balance between sweetness and chocolate richness, making it both decadent and comforting. The ease of preparation should not be overlooked either: with just a few ingredients and minimal steps, you can whip up a chocolate-themed delight in no time. This recipe fits snugly into a busy lifestyle, perfect for busy parents who want to create something special without spending hours in the kitchen.
Moreover, the affordability of the ingredients ensures that this recipe is accessible to everyone. You likely already have most of these ingredients in your pantry, making this loaf a practical choice for anyone looking to bake on a budget. In addition to being delicious and cost-effective, this chocolate bread can cater to various dietary needs. You can easily adapt it to suit gluten-free lifestyles using alternative flours, or you can reduce the sugar for a more health-conscious option.
Many people assume that baking bread requires expert skills; however, this recipe proves otherwise. The simplicity of the method allows even beginners to achieve success without anxiety. You can confidently follow each step, knowing that you’ll produce a loaf that impresses yourself and others.
Ingredients You’ll Need
- 2 cups all-purpose flour – This forms the base of your bread and gives it structure. If you’re aiming for a gluten-free option, consider using almond flour or a gluten-free blend.
- 1 cup granulated sugar – The sweetness of the sugar enhances the chocolate flavors. You can substitute it with brown sugar for a deeper, caramel-like taste.
- ½ cup unsweetened cocoa powder – This is the star ingredient that gives your bread its rich chocolate flavor. Opt for Dutch-processed cocoa for a milder sweetness.
- 1 teaspoon baking powder – This leavening agent helps the bread rise and creates a light, fluffy texture.
- ½ teaspoon baking soda – Another leavening agent, it works in tandem with the baking powder to achieve the perfect rise.
- ½ teaspoon salt – A crucial element that balances the sweetness and enhances the chocolate flavor.
- 2 large eggs – Eggs provide structure and moisture, helping to bind the loaf together. For a vegan option, you can replace each egg with ¼ cup of applesauce or a flaxseed mixture.
- 1 cup milk – This adds moisture and richness. Non-dairy alternatives like almond or oat milk work well, too.
- ½ cup vegetable oil – This keeps the bread moist. You can also use melted coconut oil for a unique flavor twist.
- 1 teaspoon vanilla extract – This adds depth and warmth to the flavor, making your bread truly special.
By understanding the role each ingredient plays, you can also make confident substitutions to suit your dietary preferences or pantry availability.
How to Make
1. **Preheat your oven** to 350°F (175°C). This ensures that your bread bakes evenly from the moment it goes into the oven, creating a nice crust and great texture.
2. **Prepare your loaf pan** by greasing it lightly with butter or oil; alternatively, you can line it with parchment paper for easy removal. Use a standard 9×5-inch loaf pan for the best results.
3. **In a large mixing bowl, combine the dry ingredients**: whisk together the all-purpose flour, granulated sugar, cocoa powder, baking powder, baking soda, and salt until well mixed. This will help distribute the leavening agents evenly, giving your loaf the perfect rise.
4. **In another bowl, whisk the wet ingredients**: in a medium bowl, beat the eggs until they’re frothy, then add the milk, vegetable oil, and vanilla extract. Whisk until combined. This mixture will create a beautifully moist loaf.
5. **Gradually mix the wet ingredients into the dry ingredients**: pour the wet mixture into the dry ingredients. Stir gently with a spatula or wooden spoon until just combined. Do not overmix; a few lumps are perfectly fine! Overmixing can lead to a dense bread.
6. **Transfer the batter into the prepared loaf pan**, using a spatula to smooth the top. This ensures a nice, even bake and surface. Give the pan a slight tap on the countertop to release any air bubbles.
7. **Bake the chocolate bread** in your preheated oven for 40-45 minutes, or until a toothpick inserted into the center comes out clean or with a few moist crumbs. Keep an eye on it starting at 40 minutes to avoid overbaking.
8. **Once done, remove the pan from the oven** and allow the bread to cool in the pan for about 10 minutes. This helps it firm up slightly and makes it easier to remove from the pan.
9. **Carefully turn the bread out onto a wire rack** to cool completely. This prevents sogginess and keeps the texture light.
10. **Slice and serve**! Enjoy it plain, or with your choice of spreads like butter, cream cheese, or even a drizzle of chocolate ganache for an extra special touch.
Variations & Substitutions
Chocolate Chip Variation: For a delightful twist, incorporate about 1 cup of chocolate chips into your batter before baking. This variation adds pockets of gooey chocolate throughout the bread, enhancing the overall chocolate experience. You can use semi-sweet, dark, or even white chocolate chips, catering to your taste preferences. Be mindful that this addition might slightly alter baking time; check for doneness a few minutes earlier.
Nut-Studded Chocolate Bread: If you’re looking for texture, consider adding ½ cup of chopped walnuts or pecans to the batter. The crunch from the nuts complements the moistness of the bread perfectly while also providing added nutrients. If someone has a nut allergy, you can omit this entirely or replace nuts with seeds like sunflower or pumpkin seeds for a similar crunch.
Gluten-Free Chocolate Bread: For those following a gluten-free diet, you can substitute all-purpose flour with a 1:1 gluten-free flour blend. It’s vital to ensure the blend contains xanthan gum, which is necessary for structure. The loaf will still be deliciously moist and chocolatey without gluten.
Fruity Chocolate Bread: Try folding in roughly chopped berries or banana into the batter right before pouring it into the loaf pan. About 1 cup of fresh or frozen raspberries, or 1 overripe banana for a banana bread twist, adds natural sweetness and moisture, creating a unique flavor profile.
Common Mistakes to Avoid
A common mistake is **overmixing the batter**, which can lead to a dense loaf. When combining wet and dry ingredients, it’s important to mix just until everything is incorporated. Also, be cautious with oven temperatures; **if your oven runs hot**, it can lead to burning on the outside while leaving the inside underbaked. Having an oven thermometer can help you monitor accurate temperatures.
Another pitfall is not properly measuring ingredients, particularly flour. Too much flour can yield a dry, crumbly texture. Always use the spoon-and-level method: spoon flour into your measuring cup and level off the excess using a knife. Lastly, **not checking for doneness** can lead to disappointingly soggy bread. Use a toothpick to check center doneness at the earliest suggested time.
Storage, Freezing & Reheating Tips
To store your Quick Homemade Chocolate Bread, allow it to cool completely, then wrap it tightly in plastic wrap or aluminum foil to retain moisture. It can also be stored in an airtight container at room temperature for up to 3 days. If you want to keep it longer, consider freezing it. Slice the bread into pieces, wrap each slice securely in plastic wrap, and place it in a freezer-safe bag. It can be frozen for up to 3 months!
When you’re ready to enjoy, you can thaw it overnight in the refrigerator or pull it directly from the freezer and pop slices in the microwave for about 15-20 seconds. This will give you that delightful freshly-baked taste again。 Keep in mind though that freezing might slightly alter the texture, so best practice is to consume it fresh when possible.
Frequently Asked Questions
Can I make this chocolate bread without eggs? Yes, absolutely! For a vegan or egg-free option, you can substitute each egg with ¼ cup of unsweetened applesauce, a mashed banana, or a flaxseed egg (1 tablespoon ground flaxseed mixed with 2.5 tablespoons water). This will keep your loaf moist while providing the necessary binding.
Can I use cocoa powder other than Dutch-processed? Yes, you can use natural cocoa powder if that’s what you have at home. However, keep in mind that Dutch-processed cocoa tends to have a smoother, richer flavor because of the alkalization process it goes through, which can enhance the chocolate flavor in baking.
How can I tell when my chocolate bread is done? The best way to check is by inserting a toothpick into the center of the loaf. If it comes out clean or with only a few moist crumbs attached, your bread is ready. If it’s wet with batter, give it a few more minutes in the oven.
Can I add other flavors to this recipe? Certainly! Feel free to experiment by adding a teaspoon of espresso powder, which can deepen the chocolate flavor without making it taste like coffee. Alternatively, a splash of orange extract or zest can provide a refreshing citrus contrast.
What can I serve with chocolate bread? This chocolate loaf is versatile! You can serve it plain, with a pat of butter, or spread cream cheese or Nutella for a treat. Pair it with fresh fruits like strawberries or raspberries, or serve it alongside a scoop of vanilla ice cream for a decadent dessert.
Conclusion:
This Quick Homemade Chocolate Bread recipe is a delightful blend of ease, flavor, and warmth that you can easily incorporate into your culinary repertoire. With its rich chocolatey goodness, coupled with versatility for personalization, it is sure to become a household favorite. Don’t hesitate to try your hand at this easy loaf; you might just find your new go-to recipe for any occasion! Whether enjoyed plain or embellished with your favorite toppings, this bread is an excellent way to share sweetness with friends and family. So, gather your ingredients, get baking, and savor the experience; you won’t regret it!