Prep time: 15 minutes
Cook time: 10 minutes
Total time: 25 minutes
Servings: 24 gummies
Imagine reaching for a sweet treat that not only satisfies your craving but is also packed with nutrients. Enter homemade gummies—an ideal solution for busy parents wanting a healthy snack for their kids or for anyone looking to enjoy a sweet treat without the guilt. This recipe not only offers a delicious, chewy texture but also allows for complete control over the ingredients. You will discover how easy it is to create cute, flavorful gummies that your loved ones will adore!
This delightful recipe harnesses the goodness of natural ingredients, letting you customize flavors according to your personal preferences. You’re going to learn essential tips, variations, and substitutions that can enhance your gummy-making experience. Whether you’re planning to make these wonderful treats for your kids or as a fun party snack, you will find everything you need to ensure your gummy experience is a tasty success.
What Is Homemade Gummies: A Fun and Healthy Treat!?
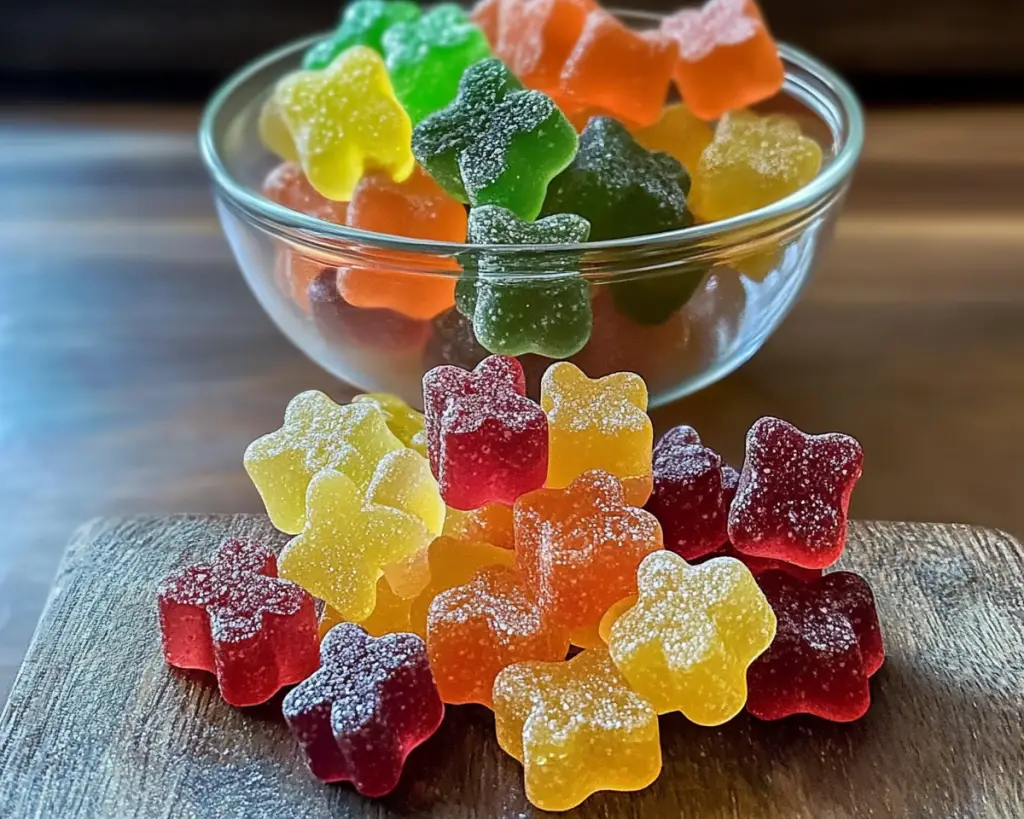
Homemade gummies are a sweet confectionery made from simple ingredients such as fruit juices, gelatin, and sometimes added sweeteners. Originating from the desire to create a healthier candy option, these gummies can be formulated to suit any taste preference. Not only are they chewy and delightful, but they can also be infused with healthful ingredients that pack a nutritional punch. The texture is a satisfying mix of firmness and chewiness, giving you a delightful sensation with each bite.
Flavor-wise, homemade gummies can take on an array of profiles, from fruity and tangy to creamy and sweet. Depending on the fruit juice you choose, the taste can vary dramatically. You can opt for bright flavors like strawberry and kiwi, or go for more wholesome options like green apple or pear. The combinations are virtually limitless, making them a versatile treat for any occasion.
Whether you’re a novice in the kitchen or someone looking to refine your candy-making skills, this recipe is designed to help create perfect, flavorful gummies every time. You’ll find it easy to follow along, and with just a handful of steps, you will come away with a delightfully chewy treat that you can feel good about indulging in.
Why You’ll Love This
There are numerous reasons to embrace homemade gummies as your go-to sweet treat! First and foremost, they offer an incredible balance of taste and health. Packed with real fruit juice, these gummies provide vitamins and antioxidants, giving you a treat that can be part of a balanced diet. You will love how easily they come together, requiring just a few simple steps and ingredients. This ease makes homemade gummies a quick and fun project that can engage kids and adults alike.
Cost-wise, making your own gummies can be significantly cheaper than purchasing pre-packaged ones that often contain preservatives and artificial ingredients. Plus, with the ability to customize flavors, you can cater to various dietary preferences, be it vegan, gluten-free, or keto-friendly. A common misconception is that gummy-making requires special equipment or extensive culinary skills. In reality, all you need is a saucepan, silicone molds, and a bit of patience.
Finally, you can effortlessly tailor these gummies for special occasions, birthdays, or just a fun family activity. There’s something gratifying about creating your own treats that can be enjoyed both by you and your loved ones.
Ingredients You’ll Need
To make homemade gummies, you will require the following ingredients:
- Fruit Juice: Opt for fresh or 100% juice without added sugars. This gives the gummies a burst of natural flavor and nutrients. You may choose from favorites like orange, apple, or grape.
- Gelatin: This is a key ingredient that provides the chewy texture. If you’re looking for a vegan alternative, consider using agar-agar instead, though the texture may vary slightly.
- Honey or Maple Syrup: Natural sweeteners help customize the level of sweetness. Adjust according to your taste preference; you can even use stevia for a low-calorie option.
- Citric Acid (optional): Adds a tangy flavor that can enhance the overall taste of your gummies. Use sparingly to avoid overpowering the sweetness.
- Water: Used to dissolve gelatin and mix with juice. Make sure it’s warm to facilitate the dissolving process.
- Silicone Molds: While not an ingredient, having muffin trays or gummy bear molds makes shaping the gummies easy and fun.
These ingredients work together to create a chewy, flavorful snack that is not only delicious but also nutritious. Experiment with various juice combinations and sweeteners to find your unique flavor vibe!
How to Make
Creating your homemade gummies is straightforward and fun! Follow these step-by-step instructions for the best results:
- Prepare Your Molds: Start by gathering your silicone molds. Make sure they are clean and dry. Lightly grease them with a bit of coconut oil or cooking spray for easy removal later on.
- Dissolve the Gelatin: In a saucepan, combine half a cup of warm water and three tablespoons of gelatin. Stir continuously until it’s completely dissolved, which should take about 2-3 minutes. Ensure there are no lumps, as this could affect the final texture.
- Add Fruit Juice: After dissolving the gelatin, pour in one cup of fruit juice of your choice. Stir well to mix everything together. This is where you can also add sweeteners like honey or maple syrup. If you’d like a tangy twist, include a pinch of citric acid.
- Heat the Mixture: Place the saucepan over low heat, continuously stirring until it just begins to thicken, around 5-7 minutes. Do not let it boil as this will alter the texture of the gummies.
- Pour Into Molds: Once the mixture thickens slightly and is well combined, carefully pour it into your prepared molds. You can use a small ladle or squeeze bottle for precision.
- Let Them Set: Allow the molds to cool to room temperature, then place them in the refrigerator to set for about 2-3 hours or until they are firm to the touch.
- Unmold Your Gummies: After they’ve set, carefully remove the gummies from the molds. If they’re sticking, gently press on the back of each mold to help release them.
- Storage: Store your gummies in an airtight container in the refrigerator. They typically last for about one week, although they’re unlikely to last that long because they’re so delicious!
Enjoy your homemade candies while feeling proud of the healthy choices you’ve made. The taste of fresh fruit combined with the satisfying chewiness will have you coming back for more!
Variations & Substitutions
Berry Blast Variation: If you’re a fan of berries, this variation is for you! Use mixed berry juice—think strawberries, blueberries, and raspberries—and consider adding some chunks of fresh fruit into the molds for added texture. The tartness of the berries can enhance the sweetness, making this a refreshing and delightful treat.
Tropical Twist Variation: Embrace the delights of the tropics by substituting regular fruit juice with pineapple, mango, or coconut water. You can also blend in some shredded coconut for a chewier texture. This not only provides a unique taste but is also a party favorite for summer gatherings.
Green Smoothie Gummies Variation: Incorporate a healthy twist by mixing in a spin of greens. You can use a flavorful juice like apple or lemon base and then blend in a handful of spinach or kale. This offers a great boost in iron and vitamins while still maintaining a pleasant taste. Your little ones may never know they’re consuming green veggies!
Vegan Gummies Variation: For those following a vegan diet, swap the gelatin for agar-agar, a seaweed-derived gelling agent. (Make sure to read the instructions on the package, as it reacts differently than regular gelatin.) The flavor can remain fruity and delicious, making it the perfect addition for your plant-based friends or family members.
Sugar-Free Gummies Variation: Use natural sugar alternatives like monk fruit or erythritol for a sugar-free version. The result remains sweet, flavorful, and guilt-free. You might have to adjust the quantity depending on the sweetener of choice, so taste as you go to maintain the balance of sweetness.
These variations not only add an exciting twist to your gummies but also make it easy to cater to different diets and preferences. Feel free to mix and match to discover your beloved combinations!
Common Mistakes to Avoid
Making homemade gummies can be simple and rewarding, but there are common pitfalls you might encounter. One of the most frequent mistakes is not dissolving the gelatin fully, which can lead to a gritty texture. Always ensure the gelatin is completely dissolved before proceeding to the next steps. Using water that isn’t warm enough can also result in incomplete dissolution.
Another mistake is allowing the gummy mixture to boil. Boiling can break down the gelatin’s gelling properties, leading to a gummy that’s less firm. Always keep the heat low, and gently heat the mixture until just warmed through.
Additionally, be cautious with fruit juices. Not all fruit juices gel well; too much acidity can make it difficult for the gelatin to set. When using citrus juices like orange or lemon, consider balancing them with sweeter juices or reducing their quantity.
Finally, a common issue arises with storage. Gummies can become sticky or lose their texture if not stored properly. Always use airtight containers, and consider adding a light dusting of cornstarch to prevent sticking if you’re keeping them for a longer period.
By following these tips, you can avoid common mistakes and set yourself up for gummy-making success!
Storage, Freezing & Reheating Tips
Storing your homemade gummies properly is essential to maintain their taste and texture. Store them in an airtight container in the refrigerator. This will typically keep them fresh for up to a week. If you notice they begin to stick together, you can dust them lightly with cornstarch to help separate them.
If you want to make a larger batch for future snacks, you can freeze your gummies. However, make sure they are fully set before you freeze them to avoid changes in texture. Place them in a single layer in a freezer-safe bag or container, and separate layers with parchment paper to prevent sticking.
To enjoy them again, simply thaw them in the refrigerator. Do not refreeze gummies once thawed, as this can ruin their texture.
Always adhere to food safety best practices when handling and storing your homemade treats. Being mindful of your ingredients will ensure a delightful experience every time you reach for your gummies.
Frequently Asked Questions
Can I make these gummies without gelatin?
Yes, you can! Instead of gelatin, use agar-agar, which is a plant-based gelling agent derived from seaweed. Just keep in mind that the texture may differ slightly from traditional gummy bears.
How can I adjust the sweetness level?
You can easily customize the sweetness by adding more or less honey, maple syrup, or any sweetener you prefer. Taste the mixture before it sets to ensure you achieve the desired flavor.
Why did my gummies turn out too soft?
If your gummies are not firming up properly, it may be due to insufficient gelatin or incorrect ratios with your liquid ingredients. Make sure to follow the recommended amounts closely and use the correct type of gelatin for your recipe.
Do homemade gummies contain any preservatives?
No, homemade gummies do not contain preservatives when made with fresh ingredients. This is one of the benefits of making them yourself; you know exactly what goes into your treats!
How do I make them more visually appealing?
To enhance the appearance of your gummies, consider adding fruit puree or colorful layers. You can layer different flavors or even use various molds to create different shapes that are fun and exciting for kids!
Conclusion:
In summary, making homemade gummies is not just about crating a delicious treat; it’s about the joy of cooking with loved ones and exploring flavors. The control you gain over the ingredients makes these snacks not only delightful but healthy as well. I encourage you to try your hand at this simple recipe, experiment with flavors, and share the joy of homemade delights with friends and family. Happy gummy-making!


