Prep time: 15 minutes
Cook time: 10 minutes
Total time: 25 minutes
Servings: 24 cookies
Baking can evoke the most delightful memories, especially when it comes to cookies. One such treat that holds a special place in many hearts is gingerbread. Today, I’m excited to introduce you to Gingerbrave Cookies, also known as Ginger Spice Cookies. These cookies embody the spirit of warmth, nostalgia, and the cozy aroma of fresh spices wafting through your kitchen. Whether you’re a busy parent, a beginner in the kitchen, or simply someone craving a sweet respite from your day, this recipe is perfect for you. With just a few common ingredients and simple techniques, you’ll learn how to create a batch of incredibly delicious cookies that are sure to bring a smile to everyone’s face.
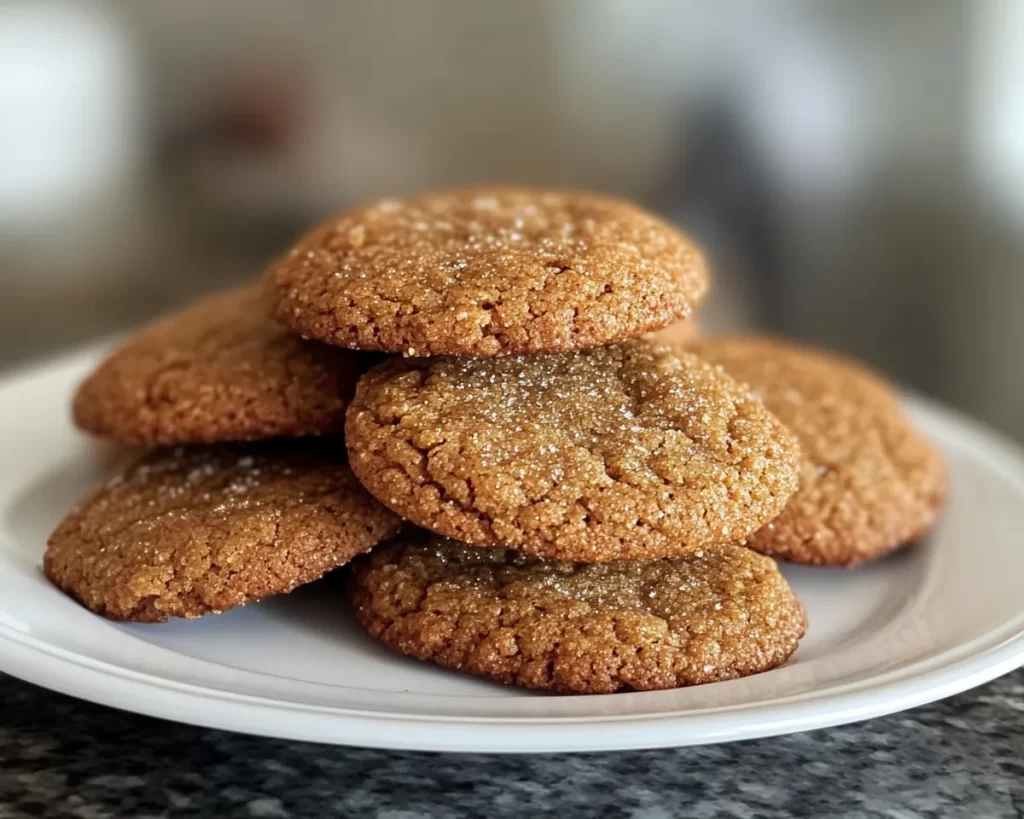
What makes these cookies truly standout is their unique balance of robust spices and rich flavors. The combination of ginger, cinnamon, and molasses creates not just a cookie, but a moment of joy with every bite. You’ll also find that they have a lovely texture: soft yet slightly chewy, making them perfect for dunking in a warm cup of tea or coffee. In this recipe, not only will you discover how to make these beautiful cookies, but you’ll also receive tips, variations, and solutions to common problems in baking. Get ready to unleash your inner baker with Gingerbrave Cookies!
What Is Gingerbrave Cookies (Ginger Spice Cookies Easy)?
Gingerbrave Cookies, often referred to as Ginger Spice Cookies, are delightful treats that originate from the rich tradition of gingerbread. While variations exist worldwide, the flavor profile remains consistent, characterized by the harmonious blend of spices like ginger and cinnamon with a touch of sweetness from molasses. These cookies are notable for their distinct flavor, which can remind one of the cozy ambiance of winter holidays, even if enjoyed year-round.
The texture of Gingerbrave Cookies is particularly noteworthy. When you bite into one, you’ll experience a delightful crisp exterior followed by a soft, chewy interior. This balance makes them incredibly satisfying to eat. The kicker is the festive dose of ginger at its core—it’s warming and deeply aromatic, invigorating the senses. If you’re unfamiliar with ginger’s role, it’s powerful. Not only does it lend a scrumptious flavor, but it also boasts several health benefits, such as aiding digestion and alleviating inflammation.
In essence, Gingerbrave Cookies are more than just a delightful dessert; they are a celebration of flavor that can bring people together. Whether it’s a holiday gathering, a cozy family night, or a simple afternoon tea, these cookies find a way into our hearts and homes. As you explore this recipe, you’ll learn its nuances, ensuring that you create a batch that can become a cherished tradition in your household.
Why You’ll Love This
There are boundless reasons to love Gingerbrave Cookies! First and foremost, they are bursting with flavor. Every bite offers a sensational experience of soft, spiced goodness that dances on your palate. The easy-to-follow recipe ensures that even novice bakers can achieve delightful results without stress. Moreover, the cost of the ingredients is reasonable, making this treat incredibly accessible to most households.
Another compelling reason to add this recipe to your baking repertoire is its versatility. Gingerbrave Cookies can be tailored to suit a variety of dietary preferences with simple substitutions. For instance, someone who’s vegan can easily adapt the recipe using plant-based alternatives without compromising flavor. Many people think that baking is time-consuming, but you’ll find that this recipe requires minimal effort while providing maximum satisfaction.
Finally, these cookies encourage creativity in the kitchen. You can experiment with **add-ins**, different **spices**, or even **frosting** to create unique variations. Mistakes in baking are often viewed as a disaster, but in reality, they can lead to something unexpected and delightful. Embrace that adventure and enjoy the process of developing your baking skills with Gingerbrave Cookies!
Ingredients You’ll Need
To make your batch of Gingerbrave Cookies, you’ll need the following ingredients:
- 2 cups all-purpose flour: This serves as the base of your dough, giving structure. You can substitute with whole wheat flour for added nutrients.
- 1 tablespoon ground ginger: The star of the show! It provides that characteristic warmth and spice. For a less intense flavor, consider using fresh ginger or ginger paste.
- 1 teaspoon ground cinnamon: Adds a cozy and sweet warmth, pairing beautifully with ginger.
- 1 teaspoon baking soda: This is critical for leavening, ensuring your cookies rise beautifully.
- ½ teaspoon salt: Balances flavors and enhances sweetness, making the spices pop.
- ¾ cup unsalted butter, softened: Serves as the fat in the cookies, contributing to their rich flavor and tender texture. Make it dairy-free with coconut oil or a plant-based butter.
- ¾ cup brown sugar: Provides sweetness and moisture. If you’re looking for a healthier option, consider coconut sugar.
- ¼ cup granulated sugar: This adds an additional layer of sweetness and helps with the cookies’ crispiness.
- 1 large egg: Acts as a binding agent, bringing the dough together. For vegan options, a flaxseed egg can work as an alternative.
- ¼ cup unsulfured molasses: Imparts a deep, rich flavor and moisture to the cookies. Dark or light molasses can be used depending on how robust you want the flavor to be.
- 1 teaspoon vanilla extract: Enhances the overall flavor profile.
Make sure to gather these ingredients before you begin. Each plays a significant role in the final product, and understanding their purpose can elevate your baking game!
How to Make
Now that you have all your ingredients ready, let’s dive into the step-by-step process of creating these heavenly Gingerbrave Cookies.
- Preheat your oven: Start by preheating your oven to 350°F (175°C). This ensures that the cookies bake evenly and develop that tantalizing golden crust. Place your oven rack in the center position for optimal baking.
- Mix the dry ingredients: In a large bowl, whisk together the all-purpose flour, ground ginger, ground cinnamon, baking soda, and salt. Make sure these ingredients are well combined before moving on to the next step. The mixing process is essential as it helps distribute the baking soda and spices evenly throughout the flour.
- Cream the butter and sugars: In another mixing bowl, cream the softened butter with both types of sugar—brown and granulated. Beat them together until the mixture is light and fluffy, about 3-5 minutes with an electric mixer. The creaming process incorporates air, making the cookies light and tender.
- Add the egg and molasses: Next, add the egg, unsulfured molasses, and vanilla extract to the butter-sugar mixture. Mix until fully combined. The molasses contributes moisture and a complex flavor, so make sure it’s well incorporated. It should have a beautiful dark color.
- Combine wet and dry ingredients: Gradually add the dry ingredient mixture to the wet ingredients, mixing on low speed until just combined. Avoid overmixing, as this can lead to tough cookies. When you see no more flour streaks, you’re good to go. The dough will be thick and slightly sticky, which is normal.
- Chill the dough: Cover the mixing bowl with plastic wrap or transfer the dough to an airtight container and refrigerate for at least 30 minutes. Chilling helps the flavors develop and makes the dough easier to handle. This step can be skipped if you’re in a hurry, but I highly recommend it.
- Shape the cookies: After chilling, remove the dough from the refrigerator. Scoop tablespoon-sized portions and roll them into balls. Place them on a greased or parchment-lined baking sheet about 2 inches apart, allowing room for spreading.
- Bake the cookies: Pop the baking sheet in your preheated oven and bake for about 8-10 minutes, or until the edges are golden and the centers look slightly under-baked. This is key; they will firm up as they cool, and that chewy texture will be maintained.
- Cool and enjoy: Remove the cookies from the oven and let them sit on the baking sheet for 5 minutes before transferring them to a wire rack. This cooling period allows them to set and enhances their flavors. After they’ve cooled completely, they’re ready to enjoy!
As you embark on this baking journey, make sure to savor each step. The aroma that fills your kitchen while these Gingerbrave Cookies are baking is truly irresistible.
Variations & Substitutions
Vegan Gingerbrave Cookies: To create a plant-based version, swap out the egg for a flaxseed egg (1 tablespoon of flaxseed meal mixed with 2.5 tablespoons of water, let sit for 5 minutes to thicken). Replace the butter with coconut oil or any plant-based butter. The flavor will remain robust and delicious while catering to vegan diets.
Gluten-Free Option: Use a gluten-free flour blend instead of all-purpose flour. Many blends contain xanthan gum, which helps with the binding and texture typically offered by gluten. Make sure the blend is suitable for baking to ensure your cookies come out perfectly.
Spicy Gingerbrave Cookies: If you’re looking for a fiery kick, consider adding additional spices like ground cloves or a touch of cayenne pepper. This variation elevates the flavor profile and is perfect for those who appreciate a spicier cookie. Just a teaspoon of each extra spice can create an exciting depth of flavor.
Chocolate Chip Gingerbrave Cookies: Who doesn’t love a good chocolate chip cookie? Simply fold in a cup of chocolate chips to the dough right before chilling. The chocolate will melt slightly during baking, mingling beautifully with the spiced cookie dough for a unique treat.
Ginger Snap Cookies: For a crispier texture akin to ginger snaps, roll the dough balls in granulated sugar before baking. Press them down gently with the back of a fork to flatten them slightly. Expect a crunchier exterior that gives way to a soft center.
Each variation offers a distinct twist to this classic, so don’t hesitate to experiment with what you have on hand or what suits your taste preferences best.
Common Mistakes to Avoid
Even seasoned bakers can sometimes run into hiccups. Here are some common mistakes to watch out for when making Gingerbrave Cookies, along with solutions to ensure you achieve the best results:
One common error is using **too much flour**. It’s essential to measure flour correctly; ideally, use the spoon-and-level method. Overpacking can lead to a denser cookie rather than a soft, chewy one. If you’re unsure, start with less flour and gradually add until the dough reaches the desired consistency.
Another pitfall is baking the cookies for too long. If left in the oven for even a minute beyond the recommended time, cookies can become hard and overly crispy. Keep an eye on them and remember they will continue to cook on the baking sheet after removing them from the oven.
Lastly, failing to chill the dough can lead to cookies that spread too much during baking. If you skip this step, you might end up with flat cookies rather than lovely puffy ones. Take the extra time to chill your dough; it’s worth it!
Storage, Freezing & Reheating Tips
Keeping your Gingerbrave Cookies fresh is simple. Store your cookies in an airtight container at room temperature for up to a week. If you want to extend their lifespan, freeze them! Place the baked cookies in a single layer on a baking sheet for a few hours to freeze individually. Once fully frozen, transfer them to a freezer-safe bag or container and store for up to three months.
For reheating, simply pop them in the microwave for a few seconds, or heat them in the oven at a low temperature (around 300°F or 150°C) for 5-10 minutes. This brings back their delightful chewyness and fills your home with that warm, inviting ginger aroma once more.
Always remember to separate layers of cookies with parchment paper when storing to prevent sticking. This ensures that each cookie remains intact and beautiful for when you’re ready to enjoy them.
Frequently Asked Questions
Can I use fresh ginger instead of ground ginger? Yes, you can substitute fresh ginger for ground ginger, though you’ll need more. Generally, 1 tablespoon of fresh ginger equals 1 teaspoon of ground. The flavor will be slightly different, but fresh ginger brings a unique and delightful zest.
How can I tell if my cookies are done baking? The edges should be lightly browned and the centers will look slightly underbaked. The cookies will firm up as they cool. If they look too wet in the center, they may need a minute or two more, but be careful not to overbake!
Can I skip chilling the dough? While it is possible to skip this step, chilling the dough enhances flavor and helps in preventing excessive spreading during baking. If you’re in a pinch, try chilling for just 15-20 minutes, but the cookies will be best with a thorough chill.
Can I use a different sweetener instead of brown sugar? You can use coconut sugar, honey, or maple syrup. However, keep in mind that this may alter the flavor and texture. Brown sugar contributes moisture and a caramel flavor, so substitutions may affect the cookie’s outcome.
What if my cookies turn out hard? Hard cookies are often a result of overbaking or using too much flour. If they come out harder than you expected, you can store them in an airtight container with a slice of bread to help soften them. It’s best to pay attention to baking time and flour measurement next time.
Conclusion:
Gingerbrave Cookies are a delightful treat, combining nostalgic flavors and comforting textures that everyone will love. They are relatively easy to prepare and can become a fantastic addition to your culinary repertoire. Encouraging creativity through variations and fostering a fun baking experience can turn this recipe into a cherished tradition in your home. Don’t hesitate to dive into this recipe, customize it to your preference, and share the joy it brings to you and your loved ones. Happy baking!


