Prep time: 20 minutes
Cook time: 25 minutes
Total time: 45 minutes
Servings: 16 bars
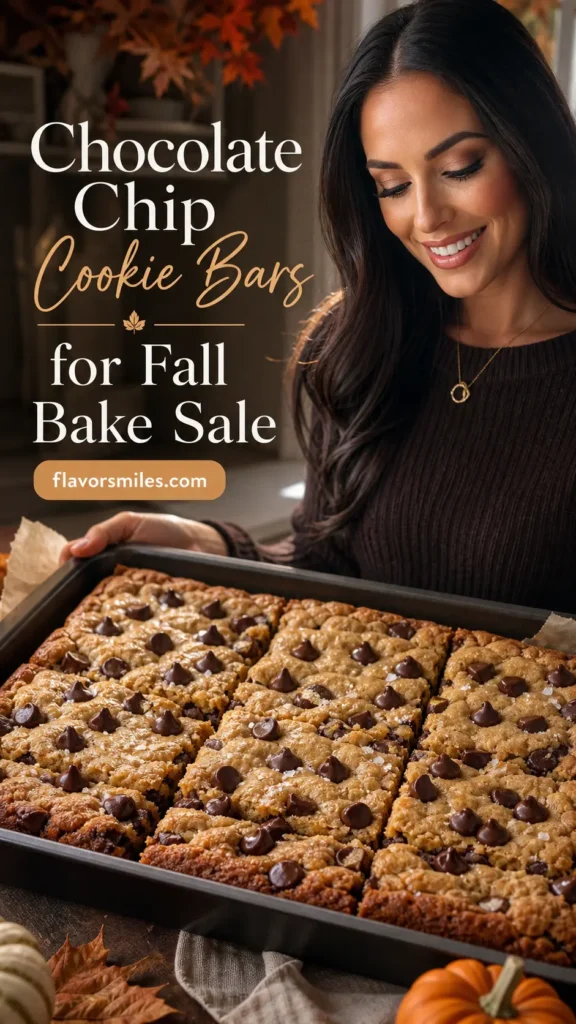
Chocolate Chip Cookie Bars for Fall Bake Sale are the perfect blend of warm spices and gooey chocolate. These bars are a delicious twist on traditional chocolate chip cookies, offering a chewy texture that is simply irresistible. They are quick to make and can be cut into bars for easy serving, making them ideal for bake sales and gatherings. The delightful aroma of these cookies baking will fill your kitchen, bringing a cozy fall feeling to your home. Whether you’re a busy parent or new to baking, this recipe provides simple instructions to achieve delicious results.
What Is Chocolate Chip Cookie Bars for Fall Bake Sale?
Chocolate Chip Cookie Bars are a versatile dessert that combines elements of classic chocolate chip cookies into a single, easy-to-make bar form. They typically include rich chocolate chips, vanilla, and brown sugar, creating a soft and chewy texture. Ideal for sharing, these bars can serve a crowd, making them perfect for events like bake sales or potlucks. In addition, their easy preparation allows even novice bakers to create a delightful treat that everyone will love.
Why You’ll Love This
You will adore these Chocolate Chip Cookie Bars for several reasons. The combination of warm spices and melty chocolate provides a comforting taste that harkens back to cherished memories of fall gatherings. The simplicity of the recipe and the quick prep time make it a go-to for busy days. In addition, the bars are easy to transport and serve, great for school events, and gatherings with friends. They can also be easily customized using mix-ins or toppings of your choice.
Ingredients You’ll Need
- 2 1/4 cups all-purpose flour: This provides the structure and base for your bars, creating a chewy texture.
- 1 teaspoon baking soda: This acts as a leavening agent, giving the bars a light and airy quality.
- 1/2 teaspoon salt: Enhances the flavors of the other ingredients, balancing sweetness.
- 1 cup unsalted butter, softened: Provides richness and moisture to the bars; make sure it’s at room temperature.
- 1 cup brown sugar: Adds a deep, caramel-like flavor and contributes to a chewy texture.
- 1/2 cup granulated sugar: Sweetens the bars and helps achieve that perfect cookie-like texture.
- 2 large eggs: Binds the ingredients together and adds moisture.
- 2 teaspoons vanilla extract: Imparts a warm flavor that complements the chocolate.
- 2 cups chocolate chips: Essential for that rich, gooey chocolate experience.
- 1 teaspoon ground cinnamon: Adds a warm, spicy flavor typical of fall desserts.
[Image]
How to Make
- Preheat your oven to 350°F (175°C) and line a 9×13 inch baking dish with parchment paper, allowing some to hang over the edges. This will make removing the bars easier once they’re baked.
- In a medium bowl, whisk together the flour, baking soda, salt, and ground cinnamon. This step ensures the dry ingredients are evenly distributed, preventing clumps.
- In a large mixing bowl, cream together the softened butter, brown sugar, and granulated sugar until light and fluffy. This will take about 3-4 minutes and is crucial for incorporating air into the mixture, yielding a lighter bar.
- Add the eggs and vanilla to the creamed mixture, mixing until fully incorporated. The batter should look smooth and velvety at this stage.
- Gradually add the dry ingredients to the wet mixture, mixing until just combined. Take care not to overmix as this will affect the texture of the bars.
- Fold in the chocolate chips using a spatula, distributing them evenly throughout the batter. This is the moment where you can envision each delicious bite filled with gooey chocolate.
- Spread the batter evenly into the prepared baking dish, smoothing the top with a spatula. Make sure it’s evenly distributed to allow for uniform baking.
- Bake in the preheated oven for 20-25 minutes or until the edges are golden brown and a toothpick inserted comes out mostly clean with a few crumbs attached.
- Let them cool in the pan for about 10 minutes before using the overhanging parchment paper to transfer them to a wire rack to cool completely. Cutting the bars while warm may result in messy edges.
Variations & Substitutions
Nutty Chocolate Chip Cookie Bars: Add 1 cup of chopped walnuts or pecans to the batter for a delightful crunch. Nuts not only provide a contrasting texture but also add healthy fats, making the bars more filling. This variation is perfect for those who love a bit of nuttiness in their desserts, balancing the sweetness of the chocolate. Each bite will have that wonderful crunch while still being soft and chewy in the center.
Pumpkin Chocolate Chip Bar Variation: For a seasonal twist, incorporate 1 cup of canned pumpkin puree into the batter. You may need to reduce the butter by a few tablespoons due to the added moisture from the pumpkin. This adds a lovely fall flavor, making the bars moist and flavorful. The spices in the pumpkin will also enhance the overall flavor, making these bars a hit at any autumn gathering.
Gluten-Free Version: Substitute regular all-purpose flour with a 1:1 gluten-free flour blend. This is a great option for those who cannot consume gluten but still want to enjoy these delicious bars. Be mindful of the specific blend you use, as some flours may require additional binding agents to achieve the ideal texture.
Common Mistakes to Avoid
One common mistake is **not measuring the flour correctly**. Too much flour can lead to dry, crumbly bars rather than the desired chewy texture. Always spoon the flour into the measuring cup and level it off with a knife for accuracy. Another key issue is **baking the bars for too long**. Overbaking can result in a hard texture instead of a soft, chewy one. Keep an eye on them in the last few minutes of baking, as they will continue to cook slightly after being removed from the oven. Lastly, **cutting the bars too soon** can result in messy edges. Allow them to rest and cool completely before slicing for neat pieces.
Storage, Freezing & Reheating Tips
To store your Chocolate Chip Cookie Bars, place them in an airtight container at room temperature for up to one week. For longer storage, you can freeze the bars for up to three months. To freeze, wrap the bars tightly in plastic wrap or aluminum foil, and place them in a freezer-safe container. When ready to enjoy, allow them to thaw at room temperature or heat them in a microwave for about 15-20 seconds for that freshly baked warmth. It’s important to note that if these bars were previously frozen, it’s best to consume them within a few days once thawed for optimum freshness.
Frequently Asked Questions
Can I use dark chocolate chips instead of semi-sweet?
Absolutely! Dark chocolate chips will give the bars a more intense chocolate flavor, which complements the sweetness of the brown sugar. You can also use milk chocolate chips for a sweeter option. Mixing different types of chocolate can create a rich depth of flavor as well.
Can this recipe be doubled?
Yes, you can easily double the recipe! Just use a larger baking dish, such as a half-sheet pan. Keep an eye on the baking time, as it may need to be adjusted to ensure the bars are cooked through. A toothpick test is the best way to check for doneness.
How can I make these bars more festive for holidays?
For a festive touch, consider adding sprinkles in seasonal colors on top after baking or using festive cookie cutters to cut the bars into fun shapes. Drizzling melted white chocolate over the top can also add a beautiful presentation, ideal for holiday parties.
Are these bars suitable for vegan diets?
While this original recipe is not vegan, you can substitute the eggs with flaxseed meal (1 tablespoon of flaxseed mixed with 2.5 tablespoons of water for each egg). Additionally, use vegan butter and dairy-free chocolate chips to create a vegan-friendly version of these bars.
What should I do if my dough is too sticky?
If your cookie dough feels too sticky, it could be due to the butter being too soft or excessive moisture in the environment. You can add a little extra flour, one tablespoon at a time, until the dough reaches a more manageable consistency. Ensure to mix gently and avoid adding too much flour, which can make the bars tough.
Conclusion:
These Chocolate Chip Cookie Bars are a must-try for any fall bake sale! They’re delightful, filling, and sure to impress friends and family alike with their rich flavors and chewy texture. Remember, the secret to achieving the best cookies lies in the balance of your ingredients and the care you put into your baking. Enjoy making and sharing these bars, and watch them disappear in no time!