Prep time: 20 minutes
Cook time: 15 minutes
Total time: 35 minutes
Servings: 12 pieces
Imagine walking into a cozy kitchen on a chilly afternoon, the rich, warm aroma of melting chocolate wafting through the air. You’re greeted by the sweet scent of caramelized spices, and as you take a deep breath, you just know something delightful is underway. This feeling can be captured perfectly with our Easy Homemade Biscoff Fudge Recipe. Not only is it a treat to make, but it’s packed with flavors that evoke childhood memories, bonding moments with family, or simply indulging in a sweet escape after a long day.
This recipe is truly special because it combines the irresistible flavors of Biscoff spread—the rich taste of caramelized biscuits—with the silky smoothness of fudge, creating a dessert that feels both comforting and indulgent. You’ll learn not just how to put this confection together but also tips for customizing it to suit your taste. Whether you are looking for a no-bake treat or a fudge that will melt in your mouth, this recipe covers it all.
What Is Easy Homemade Biscoff Fudge Recipe?
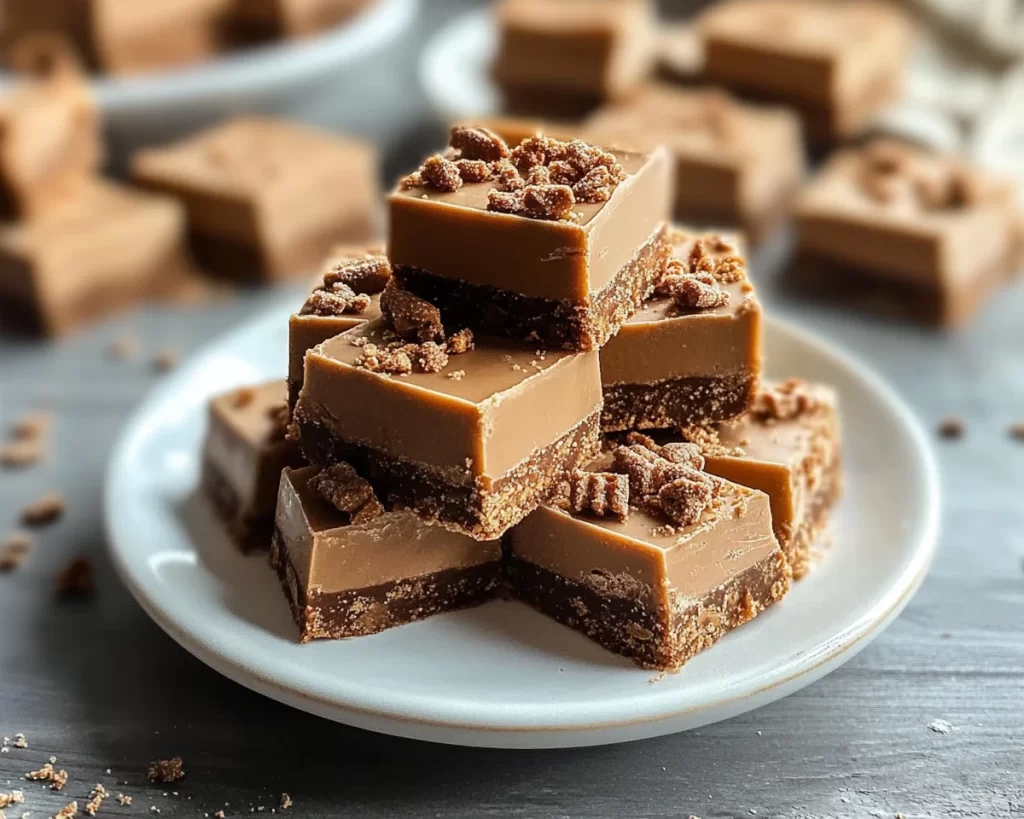
Easy Homemade Biscoff Fudge is a delightful dessert that marries the distinct flavor of Biscoff cookies with a creamy fudge base. Originating from European biscuit traditions, Biscoff has become a worldwide sensation thanks to its unique caramel flavor and crunchy texture. The fudge itself is characterized by a rich, smooth consistency that melts in your mouth, providing a delightful contrast to the slightly gritty texture of the Biscoff spread.
As the fudge sets, it takes on a glossy finish that hints at the creaminess awaiting you. When you cut into it, you’ll notice a beautiful swirl of flavors as the Biscoff spread is folded into the mixture, creating an enticement that’s hard to resist. Each bite is a harmonious blend of sweetness and spice, with buttery notes that linger on your palate. It’s the kind of dessert that’s not just enjoyed during special occasions but is versatile enough for any day of the week.
Why You’ll Love This
There are countless reasons to fall in love with this Easy Homemade Biscoff Fudge recipe! For starters, it’s incredibly flavorful. The combination of the rich chocolate and aromatic Biscoff creates a taste profile that can rival gourmet chocolates without the hefty price tag. Plus, it’s so easy to make that even a kitchen beginner can achieve delightful results with just a few simple steps.
Another significant advantage is the cost-effectiveness. With just a few ingredients, you can whip up a batch of fudge that can satisfy your sweet tooth without breaking the bank. A small piece is incredibly satisfying, making it a great addition for gifting or even for family meal prep.
Don’t worry if you’ve never made fudge before. Common misconceptions state that fudge is overly complicated, but you’ll quickly learn that this recipe simplifies the process. The emphasis on *ease of preparation* makes it perfect for busy parents looking for dessert options that don’t require extensive kitchen time. You can impress your friends and family without spending the whole afternoon slaving over the stove.
Ingredients You’ll Need
- Condensed milk: The base for the fudge, lending creaminess and sweetness. You can substitute it with evaporated milk and additional sugar.
- Biscoff spread: The star ingredient that brings in the unique flavor of caramelized biscuits. Look for this in the peanut butter or specialty section of your grocery store.
- Chocolate chips: Milk or dark chocolate will work well here, providing richness that balances the sweetness of the fudge. Feel free to use dairy-free chocolate for a vegan variation.
- Butter: A must for achieving that creamy texture. You can also use coconut oil as a dairy-free alternative.
- Vanilla extract: A splash of vanilla adds depth and enhances the overall flavor of the fudge.
- Salt: A pinch of salt can elevate the sweetness and balance the flavor.
Each of these ingredients plays a vital role in achieving the perfect balance of taste and texture in your fudge. You can get creative with substitutions and modifications if you want to cater to specific dietary needs or personal preferences.
How to Make
1. Start by preparing a baking dish, preferably around 8×8 inches, by lining it with parchment paper. This will ensure easy removal of the fudge later. Allow excess paper to hang over the edges for easy handling.
2. In a medium-sized saucepan over low heat, combine the condensed milk, butter, chocolate chips, and a pinch of salt. Stir occasionally until everything is melted and well combined. This should take about 5-7 minutes. Be attentive and ensure that the heat remains gentle to avoid burning.
3. Once the mixture is glossy and smooth, remove it from the heat. Now, add in the Biscoff spread and vanilla extract, stirring well until everything is fully incorporated. You should see the fudge taking on a creamy, slightly thick consistency.
4. Pour the fudge mixture into the prepared baking dish. Use a spatula to spread it evenly into the corners of the dish. Make sure to smooth the top for an attractive finish.
5. Allow the fudge to cool at room temperature for a few minutes before transferring it to the refrigerator. Let it chill for at least 2-3 hours. This time in the fridge allows the fudge to set properly, giving it that delightful fudge texture.
6. Once set, remove the fudge from the baking dish by lifting the edges of the parchment paper. Using a sharp knife, cut the fudge into squares. Make sure to wipe the knife with a damp cloth between cuts for cleaner edges.
7. Serve your delicious Biscoff fudge on a cake stand or place it in an airtight container to share, or save it for later. It should last up to two weeks in the refrigerator and can also be frozen for up to three months.
Variations & Substitutions
Nutty Biscoff Fudge: For those who love a bit of crunch, consider adding chopped nuts such as almonds or pecans. This variation not only enhances the texture but also adds a nutritious boost. Toast the nuts lightly before mixing them in to enrich their flavor. Nuts provide healthy fats and proteins, making your fudge a bit more substantial while still satisfying your sweet tooth.
Vegan Biscoff Fudge: To transform this recipe into a vegan-friendly treat, substitute the butter with coconut oil and choose dairy-free chocolate chips. Use the same amount of plant-based condensed milk or make your own using cashews and coconut milk. The result will be a delightful fudge that doesn’t compromise on flavor or texture, making it perfect for those following a vegan lifestyle.
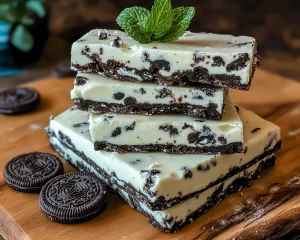
Mint Biscoff Fudge: If you enjoy a refreshing twist, add a few drops of mint extract to the mixture before pouring it into the baking dish. This variation gives the fudge a clean and invigorating flavor, perfect for celebrations or themed dessert tables. You could also garnish with crushed peppermint candies on top for a visually appealing finish.
Spicy Biscoff Fudge: For those who enjoy a kick, consider adding a dash of cayenne pepper or cinnamon to the fudge mixture. This unexpected twist can create a complex flavor profile that surprises the palate, perfect for adventurous eaters. Just be careful with the amount; a little goes a long way!
Common Mistakes to Avoid
One common mistake is overheating the fudge mixture, which can lead to a grainy texture instead of the silky smoothness desired. Always melt the ingredients together on low heat and stir continuously to ensure it does not scorch.
Another pitfall is not allowing enough time for the fudge to set. Rushing this process can result in weak, crumbly fudge rather than the firm, delectable squares you’re aiming for. Be patient and give it a solid 2-3 hours in the fridge.
Lastly, make sure to use the correct proportions of ingredients. Too much Biscoff spread can disrupt the balance and make the fudge overly sweet, while too little can cause it to lack flavor. Always measure carefully for best results.
Storage, Freezing & Reheating Tips
To keep your Easy Homemade Biscoff Fudge fresh, store it in an airtight container in the refrigerator. This will prolong its shelf life up to two weeks, keeping it flavorful and enjoyable. If you anticipate not consuming it within that time, consider freezing the fudge.
To freeze, cut the fudge into individual squares and arrange them in a single layer on a baking sheet. Place the sheet in the freezer for a couple of hours until the fudge is firm, then transfer the squares into a freezer-safe bag or container. It can be kept this way for up to three months. When you’re ready to enjoy, simply thaw it in the fridge overnight.
Remember to always practice food safety—when dealing with perishable items, it’s important to check for any signs of spoilage before consuming previously stored fudge.
Frequently Asked Questions
Can I use a different type of chocolate in this recipe? Yes! You can use white, milk, or dark chocolate based on your preference. Each type will offer a slightly different flavor profile, so feel free to experiment until you find your favorite combination.
Is this fudge suitable for gift-giving? Absolutely! The Easy Homemade Biscoff Fudge makes for a lovely gift. Wrap individual pieces in decorative cellophane or place them in a beautiful box to share with friends and family on special occasions.
Can I add other flavors to this fudge? Certainly! This fudge is very versatile. You can mix in different extracts, spices, or even swirl in caramel for a richer taste. Be creative and have fun with the flavors that you love.
How can I make this fudge healthier? You can opt for less sugar by reducing the amount of condensed milk and using a sugar substitute. You can also add protein powder to the mixture for an added health kick.
What if my fudge is too soft after it cools? If your fudge does not set properly, it could be due to not cooking the mixture long enough or using incorrect proportions. For a quick fix, you can return it to the saucepan, reheat, and add a little more chocolate to help it firm up.
Conclusion:
In conclusion, the Easy Homemade Biscoff Fudge is a delightful recipe that combines flavor, ease, and versatility into one sweet package. It’s perfect for any occasion and encourages you to get creative with flavors and textures. So, gather your ingredients, roll up your sleeves, and get ready to impress your loved ones with this delectable treat! Remember, the joy in cooking lies in sharing and making memories, so don’t hesitate to customize this recipe to suit your taste and preferences. Enjoy every sweet moment!