Prep time: 15 minutes
Cook time: 10 minutes
Total time: 25 minutes
Servings: 20 gummies
One of the best treats for kids is a chewy, delightful gummy candy, and what could be better than making them at home? Homemade gummies are not only a fun project for cooking with kids but can also be tailored to suit healthy eating habits, using real fruit juices and healthy ingredients. This recipe is special because it offers a unique way to entice your little ones into enjoying a tasty treat that is both delicious and nutritious. You’ll discover how simple it is to whip up these gummies, their health benefits, and ways to customize them to fit your family’s preferences.
What Is Can You Make Healthy Homemade Gummies Kids Love So Much?
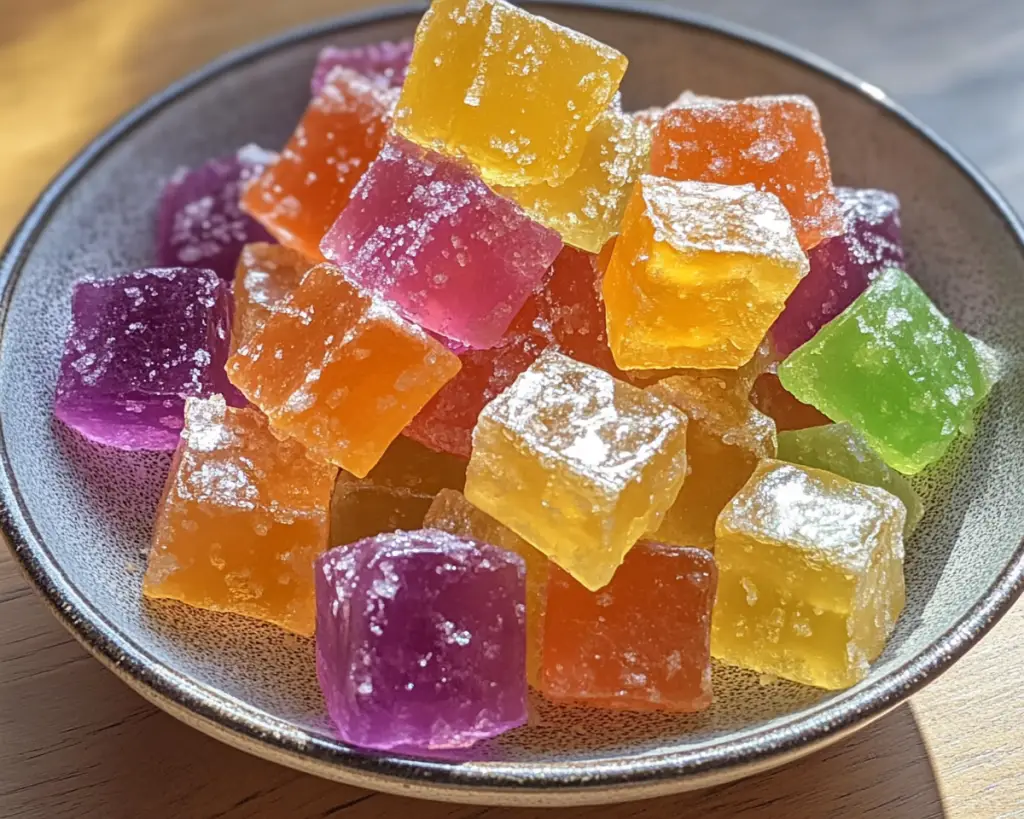
Homemade gummies are a delightful candy snack that brings joy to kids, while also offering a chance for parents to sneak in some healthy ingredients. The origin of gummy candies can be traced back to Germany in the early 1920s, but making your own can add an exciting twist. The texture of these gummies is charmingly chewy, and the flavor can be tailored to whatever fruits are in season or preferred by your children, from tart berries to sweet oranges.
The key ingredient in these adorable snacks is gelatin, which not only helps them set but is also a protein-rich ingredient. You can enhance these gummies by using pure fruit juice instead of artificial flavors and colors because it adds natural sweetness and vibrant colors that captivate children. When you make homemade gummies, you’re not only creating a treat but also an experience your kids will love, as they will enjoy pouring the mixture into fun molds and watching it set in the fridge.
Why You’ll Love This
There are multiple reasons why homemade gummies become a family favorite. First, the taste is unmatched; you can choose your kids’ favorite flavors and adjust the sweetness to perfection. Additionally, this recipe offers a delightful texture that’s chewy without being overly tough. Unlike store-bought gummies, these treats are made with wholesome ingredients, ensuring that you are filling your family’s bodies with healthy options rather than excess sugar and artificial additives.
Moreover, the ease of preparation makes this recipe ideal for busy parents. With just a few straightforward steps, you can craft a batch of delicious gummies in under half an hour, making it perfect for a weekend treat or a fun activity during summer break. Besides, these gummies are cost-effective compared to buying pre-packaged candy, allowing for better budget management while still giving your kids a delicious snack.
Some might think that making gummies at home is challenging, but this recipe dispels that myth. With a handful of ingredients and minimal kitchen skills required, even beginners can create a delightful batch. This recipe stands out not only for its simplicity but also for its versatility, inviting you to play around with flavors and colors each time you make it.
Ingredients You’ll Need
- Gelatin: The backbone of your gummies, putting the “chewy” in chewy gummies. You can use either powdered or sheet gelatin. If you’re looking for a vegetarian option, agar-agar can be a great substitute.
- Fruit juice: Use 100% pure juice for natural sweetness and flavor. Options like orange, apple, or even tart cherry can add a refreshing twist.
- Sweetener: You can use honey, maple syrup, or even a sugar-free alternative, depending on your dietary preferences. Keep in mind that adding sweetness will greatly affect the final flavor.
- Citric acid (optional): This ingredient adds a tangy kick to your gummies, enhancing the overall taste. It’s optional but highly recommended for a zesty flavor.
- Flavor extracts: For an extra layer of flavor, you might want to add a few drops of extracts like vanilla or almond.
How to Make
- Begin by measuring out your fruit juice. Depending on how much you plan to make, you will typically want about 1 cup of liquid. Pour this juice into a medium saucepan over low heat, and let it warm up gently, but do not let it boil.
- Once the juice is warmed, add your gelatin. If you’re using powdered gelatin, sprinkle it over the juice slowly while stirring continuously until it’s completely dissolved. If you’re using sheet gelatin, make sure to soak it in cold water for a few minutes, then squeeze out the excess water and mix it into the juice.
- Next, incorporate your sweetener into the mixture. Add to taste, keeping in mind that the natural sweetness of the juice may already provide a lovely flavor. Stir until fully integrated, ensuring the mixture remains warm.
- If you opted for citric acid or any flavor extracts, add them now. It’ll bring an extra zing and depth to your gummies. Continue to stir until everything is thoroughly blended, and you can see a uniform mixture.
- Once all elements are combined, remove the saucepan from the heat and carefully pour the mixture into gummy molds. A funnel can help prevent spills. Tap the molds lightly on the counter to eliminate any potential air bubbles.
- Refrigerate the molds for at least 2-3 hours or until the gummies have set completely. You can check them gently; they should feel firm to the touch. After setting, pop the gummies out of their molds. Store them in an airtight container in the fridge to keep them fresh.
Variations & Substitutions
Berry Blast Variation: For a delicious berry mix, use a combination of raspberry, blueberry, and strawberry juice. This mix not only provides a vibrant color but also a mix of flavors that are sure to impress. The tanginess of raspberry combined with the sweetness of strawberries creates a popular gummy treat for kids. Be sure to choose 100% juice options without added sugar for the best flavor.
Tropical Twist Variation: Dreaming of a beach getaway? Use pineapple or mango juice for a sunny, tropical twist. This variation will lighten the mood and can transport you straight to warm, sun-soaked islands. Feel free to add bits of real fruit for added texture and flavor, ensuring a chewy and fruity experience.
Sugar-Free Option: To create a sugar-free version of these delightful gummies, replace the sweetener with a sugar substitute like stevia or erythritol. Keep in mind that the taste may vary slightly, so you might need to adjust the levels. The gummy’s sweetness can still shine through when paired with your chosen fruit juice, making for a tasty, guilt-free treat.
Vegan-Friendly Variation: For those following a vegan lifestyle, swap out traditional gelatin for agar-agar. This seaweed-based substitute works similarly and can be just as effective in creating perfectly chewy gummies. Follow the instructions for dissolving agar-agar, as its setting properties differ slightly from gelatin. Enjoy guilt-free, plant-based gummies bursting with fruity goodness.
Common Mistakes to Avoid
One of the most common mistakes when making gummies is not allowing the gelatin to dissolve completely in the juice mixture. This can lead to a gritty texture in your final product, which isn’t pleasant to eat. Always stir thoroughly and allow sufficient time for the gelatin to absorb the liquid. If you notice any lumps, don’t hesitate to try warming the mixture slightly while stirring — just remember not to reach a boiling point.
Additionally, another error comes from overcooking or overheating the mixture, which can damage the gelatin’s gelling properties. Make sure to keep the heat low and avoid boiling the mixture at all costs. For those using alternative sweeteners, remember that different sugar substitutes vary in sweetness levels, so taste as you go to adjust accordingly.
Storage, Freezing & Reheating Tips
To ensure your homemade gummies stay fresh, store them in an airtight container in the refrigerator. They generally last about 1-2 weeks without losing their delightful texture. If you notice any stickiness, dust them gently with cornstarch to prevent them from clumping together.
If you want to enjoy these treats even longer, freezing them is an option. Place the gummies in a freezer-safe bag or container, separating layers with parchment paper to prevent sticking. They can last a few months in the freezer. When ready to eat, simply thaw them in the fridge. Avoid microwaving them, as it will alter their texture and can cause the gummies to become sticky.
Food safety is particularly important; always practice good hygiene in food storage and ensure your hands are clean when handling the gummies.
Frequently Asked Questions
Can I use any type of fruit juice? Yes, you can use any type of 100% fruit juice for these gummies. Just make sure it is free from added sugars and preservatives for the best results. Experimenting with blends is encouraged, as mixing different juices can create unique flavors and colors that kids will love.
How do I make my gummies firmer? To achieve a firmer gummy texture, increase the amount of gelatin used in the recipe. This will yield a sturdier end product. Additionally, making sure the mixture is properly set in the fridge (about 3-4 hours) will also contribute to a firmer texture.
Can I add vitamins or supplements to these gummies? Absolutely! You can infuse your gummies with vitamin powders or probiotics that can be dissolved in liquid. Just be sure to follow the package instructions regarding mixing or heating. This way, you can further enhance the nutritional value of these delicious treats.
Why are my gummies sticky? Sticky gummies can be caused by excess moisture or not enough cornstarch to dust them when stored. If your gummies become sticky, tossing them in a light coating of cornstarch can help. Alternatively, you may need to adjust the ratio of juice to gelatin if you want a less sticky outcome.
Can adults enjoy these gummies too? Definitely! These gummies are not just for kids; the flavors can be tailored to adult palates, and the health benefits make them appealing for everyone. You may also consider adding a splash of adult-friendly flavors, such as a hint of liquor, for a party version that can be enjoyed responsibly.
Conclusion:
Making healthy homemade gummies that kids love is not only a fun activity but an excellent opportunity to engage with your children in the kitchen. You can customize flavors, substitute ingredients, and make a truly unique snack that everyone will enjoy. The process is easy, rewarding, and promotes healthier eating habits, making it a win for both parents and kids alike. So grab your favorite juices and molds, and dive into this delightful cooking adventure. Your kids will love it, and you might even find yourself sneaking a few tasty bites as well. Enjoy the colorful and flavorful result—it’s sure to be a hit!


