### Prep Time
**10 minutes**
### Cook Time
**10-12 minutes**
### Total Time
**20-22 minutes**
### Servings
**24 cookies**
—
When it comes to cookies, there’s something undeniably delightful about sugar cookies. They’re sweet, buttery, and so versatile, making them ideal for any occasion—from holiday gatherings to birthday parties. Among the many types of sugar cookies, **porcelain sugar cookies** stand out for their gorgeous, glossy finish that resembles porcelain. These cookies not only dazzle in appearance but also offer a soft and tender texture that is simply irresistible.
In this guide, you will learn how to make porcelain sugar cookies that will leave your friends and family in awe. From the ingredients that contribute to their unique texture to tips and tricks for a flawless finish, you’ll find everything you need to create stunning cookies that both look and taste amazing.
### What Are Porcelain Sugar Cookies?
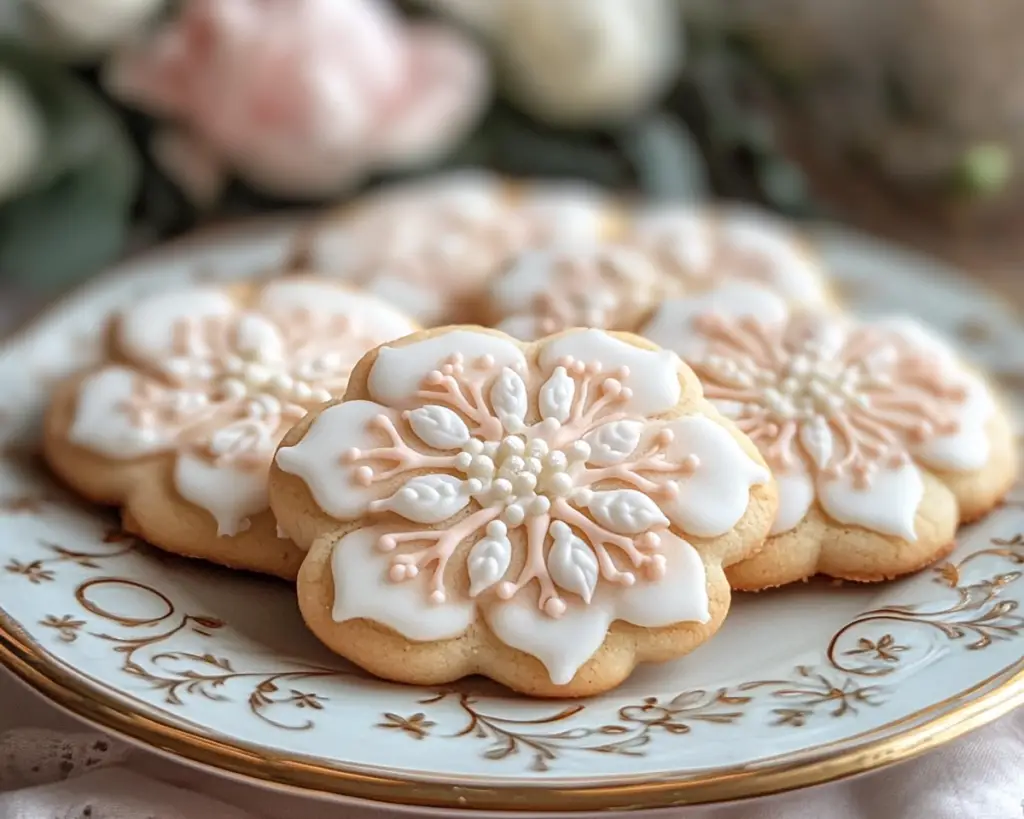
Porcelain sugar cookies are a beautiful take on the classic sugar cookie recipe. Named for their glossy appearance that resembles fine porcelain china, these cookies are often adorned with intricate decorations and royal icing. Traditionally, sugar cookies are made with simple ingredients: flour, sugar, butter, and eggs, but the key to achieving that porcelain-like finish lies in the method of preparation and icing technique.
Their texture is soft yet sturdy enough to hold shapes, which makes them perfect for decorating. When baked properly, these cookies develop a tender crumb with a delightful buttery flavor, which is taken to the next level when adorned with bright, striking icing. The cookies’ adaptability means you can change their colors, designs, and even flavors, making them ideal for any season or celebration.
Whether you’re a seasoned baker or a beginner looking to impress, these cookies will surely become a favorite in your baking repertoire.
### Why You’ll Love This Recipe
There are numerous reasons to fall in love with porcelain sugar cookies.
1. **Aesthetics**: The shiny finish makes them visually appealing, turning an ordinary cookie into a work of art that can impress guests and family alike.
2. **Versatility**: You can easily customize them for various occasions—add colors for holidays, use different cookie cutters for themed parties, or decorate them for birthdays.
3. **Aromatic Delight**: The smell of freshly baked sugar cookies fills your kitchen with a sweet aroma that is comforting and inviting.
4. **Easy to Make**: Contrary to how they may appear, these cookies require only a handful of ingredients and are straightforward to prepare.
5. **Creativity**: Decorate them according to your imagination! Use edible glitter, sprinkles, or intricate piping techniques to express yourself.
Though some may shy away from cookie art, don’t be intimidated! With the right techniques and practice, you’ll quickly master the art of decorating, leaving you with cookies that taste as good as they look.
### Ingredients You’ll Need
To create perfect porcelain sugar cookies, gather the following ingredients:
– **2 ¾ cups all-purpose flour**
– This is the base for your cookies. It provides structure and helps achieve that tender texture. For gluten-free cookies, substitute with gluten-free flour blends.
– **1 teaspoon baking powder**
– This leavening agent helps the cookies to rise slightly, keeping them soft and tender.
– **½ teaspoon fine sea salt**
– Enhances flavor without being overpowering. Always use fine salt for even distribution.
– **1 cup unsalted butter, softened**
– The star of the show! Butter adds richness and flavor. Make sure it’s at room temperature for easy mixing.
– **1 ½ cups granulated sugar**
– Sweetens the cookies and helps achieve that perfectly smooth texture.
– **1 large egg**
– Acts as a binding agent that helps hold the cookies together.
– **1 teaspoon pure vanilla extract**
– Adds depth and a delightful aroma. Always choose pure vanilla extract for the best flavor.
– **Royal icing (for decorating)**
– Made from powdered sugar, meringue powder, and water, royal icing hardens as it sets, creating a smooth, porcelain-like finish.
### How to Make Porcelain Sugar Cookies
Follow these steps to craft your own porcelain sugar cookies:
#### Step 1: Prepare Your Workspace
Start by lining two baking sheets with parchment paper. Make sure your workspace is clean, and have all your ingredients measured and ready to go. This will save you time during mixing.
#### Step 2: Mix Dry Ingredients
In a medium bowl, whisk together the **all-purpose flour**, **baking powder**, and **sea salt**. Mixing the dry ingredients first ensures that the baking powder and salt are evenly distributed throughout the flour. Set this bowl aside.
#### Step 3: Cream Butter and Sugar
In a large mixing bowl, combine the **softened butter** and **granulated sugar**. Using an electric mixer, cream these together on medium speed until the mixture is light and fluffy—about 3 to 5 minutes. This process incorporates air, which will help to achieve a tender cookie.
#### Step 4: Add Egg and Vanilla
Once the butter and sugar are well combined, add in the **egg** and **vanilla extract**. Beat the mixture again until it’s well incorporated. The mixture may look slightly curdled at this stage, which is normal.
#### Step 5: Combine Mixtures
Gradually add the dry ingredients to the wet ingredients, mixing on low speed. Stop mixing when you no longer see dry flour, as over-mixing can develop the gluten in the flour and result in tougher cookies.
#### Step 6: Chill the Dough
To help the cookies maintain their shape while baking, wrap the dough in plastic wrap and chill it in the refrigerator for at least 1 hour. This step is crucial! Chilling allows the butter to firm up and prevents the cookies from spreading too much when baked.
#### Step 7: Preheat the Oven
Preheat your oven to 350°F (175°C). This temperature helps create that perfect balance of a crisp exterior and soft interior without baking the cookies too quickly.
#### Step 8: Roll and Cut
Once chilled, take the dough out of the fridge. On a lightly floured surface, roll out the dough to about 1/4 inch thick. Use your favorite cookie cutters to cut out shapes, then transfer them to your prepared baking sheets, leaving a little space between each cookie.
#### Step 9: Bake
Bake the cookies in your preheated oven for **10-12 minutes**, or until the edges start to lightly brown. The cookies will continue to cook slightly after being removed from the oven due to residual heat, so be careful not to overbake.
#### Step 10: Cool Completely
Allow the cookies to cool on the baking sheet for a few minutes before transferring them to a wire rack to cool completely. This cooling period is essential for achieving the right texture before decorating.
### 5 Variations & Substitutions
1. **Lemon Porcelain Cookies**
Add zest from one lemon to the dough for a bright citrus twist! This adaptation adds a refreshing flavor, perfect for spring and summer occasions. For even more lemony goodness, use lemon-flavored royal icing.
2. **Almond Extract Infusion**
Substitute the vanilla extract with **1 teaspoon of almond extract**. Almond sugar cookies have a wonderful nutty flavor and aroma that pairs well with sweet icings.
3. **Chocolate Sugar Cookies**
Replace 1/2 cup of flour with **1/2 cup of unsweetened cocoa powder** for a delicious chocolate twist. You may need to adjust the sugar slightly since cocoa powder can be bitter when you first try these.
4. **Gluten-Free Option**
Use a **1:1 gluten-free flour blend**. Ensure it includes xanthan gum, which will help provide the structure needed for the cookies.
5. **Spice Cookies**
Add 1 teaspoon of cinnamon and a pinch of nutmeg to the dry ingredients. These spices make a warm, inviting cookie, perfect for holiday gatherings.
### Common Mistakes to Avoid
1. **Overmixing the Dough**
When you combine the wet and dry ingredients, mix just until combined. Overmixing can activate gluten, resulting in tough, chewy cookies instead of the desired tender texture.
2. **Skipping the Chilling Step**
Don’t skip chilling! If you want beautifully shaped cookies, chilling the dough is necessary. It allows the fat to solidify and helps prevent the cookies from spreading excessively during baking.
3. **Incorrect Oven Temperature**
An uncalibrated oven can throw off your baking. Use an oven thermometer to ensure your oven is at the right temperature. Underbaking could lead to raw centers, while overbaking will lead to dry cookies.
4. **Not Allowing Cookies to Cool Properly**
For a successful decorating session, cool your cookies completely on wire racks. Otherwise, the icing may melt or slide off, ruining your beautiful designs.
5. **Ignoring the Royal Icing Consistency**
Royal icing should be glossy and smooth. If it’s too thick, add a few drops of water at a time until you reach a drizzle-like consistency. If it’s too runny, add more powdered sugar.
### Storage, Freezing & Reheating Tips
**Storage:** Store your cooled porcelain sugar cookies in an airtight container at room temperature for up to **one week**. To keep them fresh, separate layers of cookies with parchment paper, as this will help prevent them from sticking together.
**Freezing:** These cookies freeze exceptionally well! You can freeze them before or after baking. For uncooked dough, wrap it tightly in plastic wrap and store it in a freezer bag for up to **three months**. When you’re ready to bake, let the dough thaw in the fridge overnight and then proceed with the rolling and cutting steps.
If you’ve already decorated your cookies, place them in a single layer on a baking sheet and freeze them for about an hour until the icing hardens. Afterward, transfer the cookies into an airtight container with parchment paper between layers, and they can be stored for up to **three months** in the freezer.
**Reheating:** If you want to enjoy warm cookies again, reheat them in an oven set to **300°F (150°C)** for about **5-10 minutes**. If they have royal icing, be cautious, as the icing may lose its shine when exposed to heat.
### Frequently Asked Questions
#### 1. Can I use margarine instead of butter?
While margarine can be used, it’s best to stick with unsalted butter for optimal flavor and texture. Butter has a higher fat content, which is essential for achieving that rich, tender crumb.
#### 2. Why are my cookies spreading too much while baking?
Excess spreading can often be attributed to using too warm dough. Ensure that you chill your cookie dough properly before baking, as this helps the cookies maintain their shape.
#### 3. How do I achieve the perfect royal icing consistency?
Royal icing should be smooth and spreadable without being runny. The ideal consistency you’re looking for is sometimes called “15-second icing,” meaning it should take about 15 seconds to disappear when a spatula is swirled through it. Adjust the consistency based on your decorating needs.
#### 4. Can I make the dough ahead of time?
Absolutely! You can make the cookie dough a day or two in advance, wrap it well, and refrigerate it until you are ready to roll out and bake. You can also freeze the dough for up to three months.
#### 5. Can I omit the royal icing?
Yes, you can! These cookies are delicious plain or can simply be dusted with powdered sugar, or glazed with a simple mixture of powdered sugar and milk for a lighter finish.
—
Next time you’re in the mood for some baking, give these porcelain sugar cookies a try. Not only do they provide a delectable treat, but they are also a canvas for your creativity. Whether you keep them simple or decoratively ornate, what matters most is the joy you feel in the kitchen and the smiles they bring to those who taste them! Happy baking, and don’t forget to share your beautiful creations with family and friends!


